This came up on the SAP NetWeaver Identity Management forum and since I had to take the screen shots anyway I thought I would show it step by step. In this scenario we are creating a new contractor and we want to set the validation attribute such that it’s maximum value is not greater than one year from today. I am assuming that one already knows how to create basic workflows.
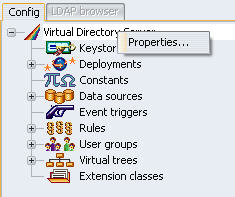
1. First we open the attribute MX_VALIDTO and click on the Validation tab.
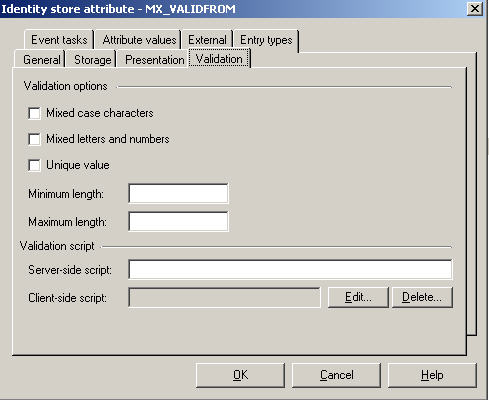
Validation Tab
2. We are going to use Client-side script. Click edit and it shows an example in a format we must follow so PHP can evaluate it properly.
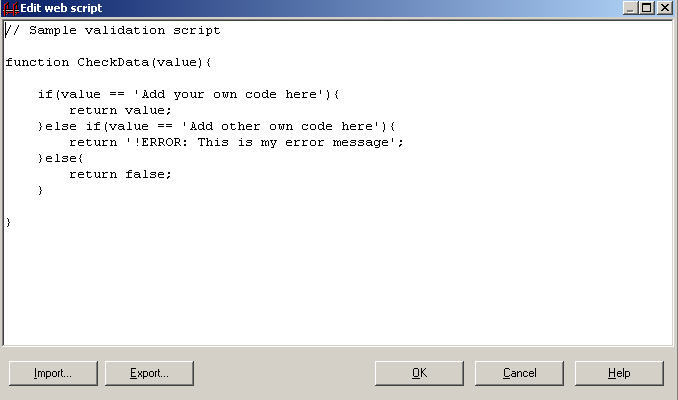
Client-side script example
3. Next we enter the JavaScript (originally written by Scott) that will check the validity of entered date. The date is passed in from the workflow as yyyy-mm-dd. Because javascript counts months starting at 0 we subtract 1 from our month value (line 5). If the date entered is less than the maximum permissible date, the date is returned. If it is more, we return an error message. Later this script will be set as a string value called myscript in PHP and evaluated.

JavaScript Validation Code
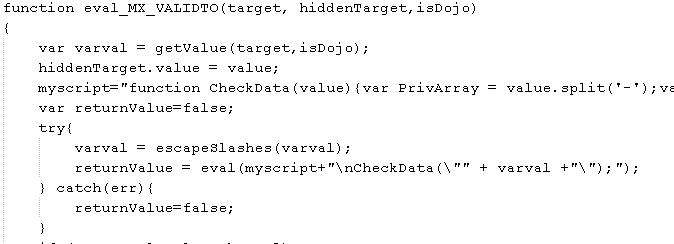
PHP code in Workflow
4. Next we set up our workflow and choose our attributes by creating an unordered task which creates a new entry of the MX_PERSON entry type. Access Control is set to logged in users.
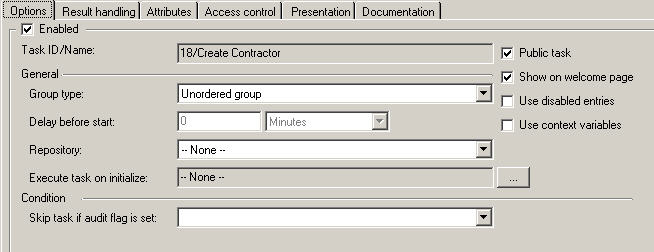
Unordered Task

Attributes
5. Next we test in our validation in the workflow Create Contractor and enter in the values, including an improper “valid to” date.

Create Contractor Workflow
6. Click OK and receive error message.

Error Message